Webhook Triggers
Copy page
Create webhook endpoints that let external services invoke your agents via HTTP
Webhook triggers give you an HTTP endpoint that external services — like GitHub, Zendesk, Stripe, or PagerDuty — can POST to.
Incoming payloads are validated, transformed into a message, and used to start a new conversation asynchronously.
Create a webhook trigger
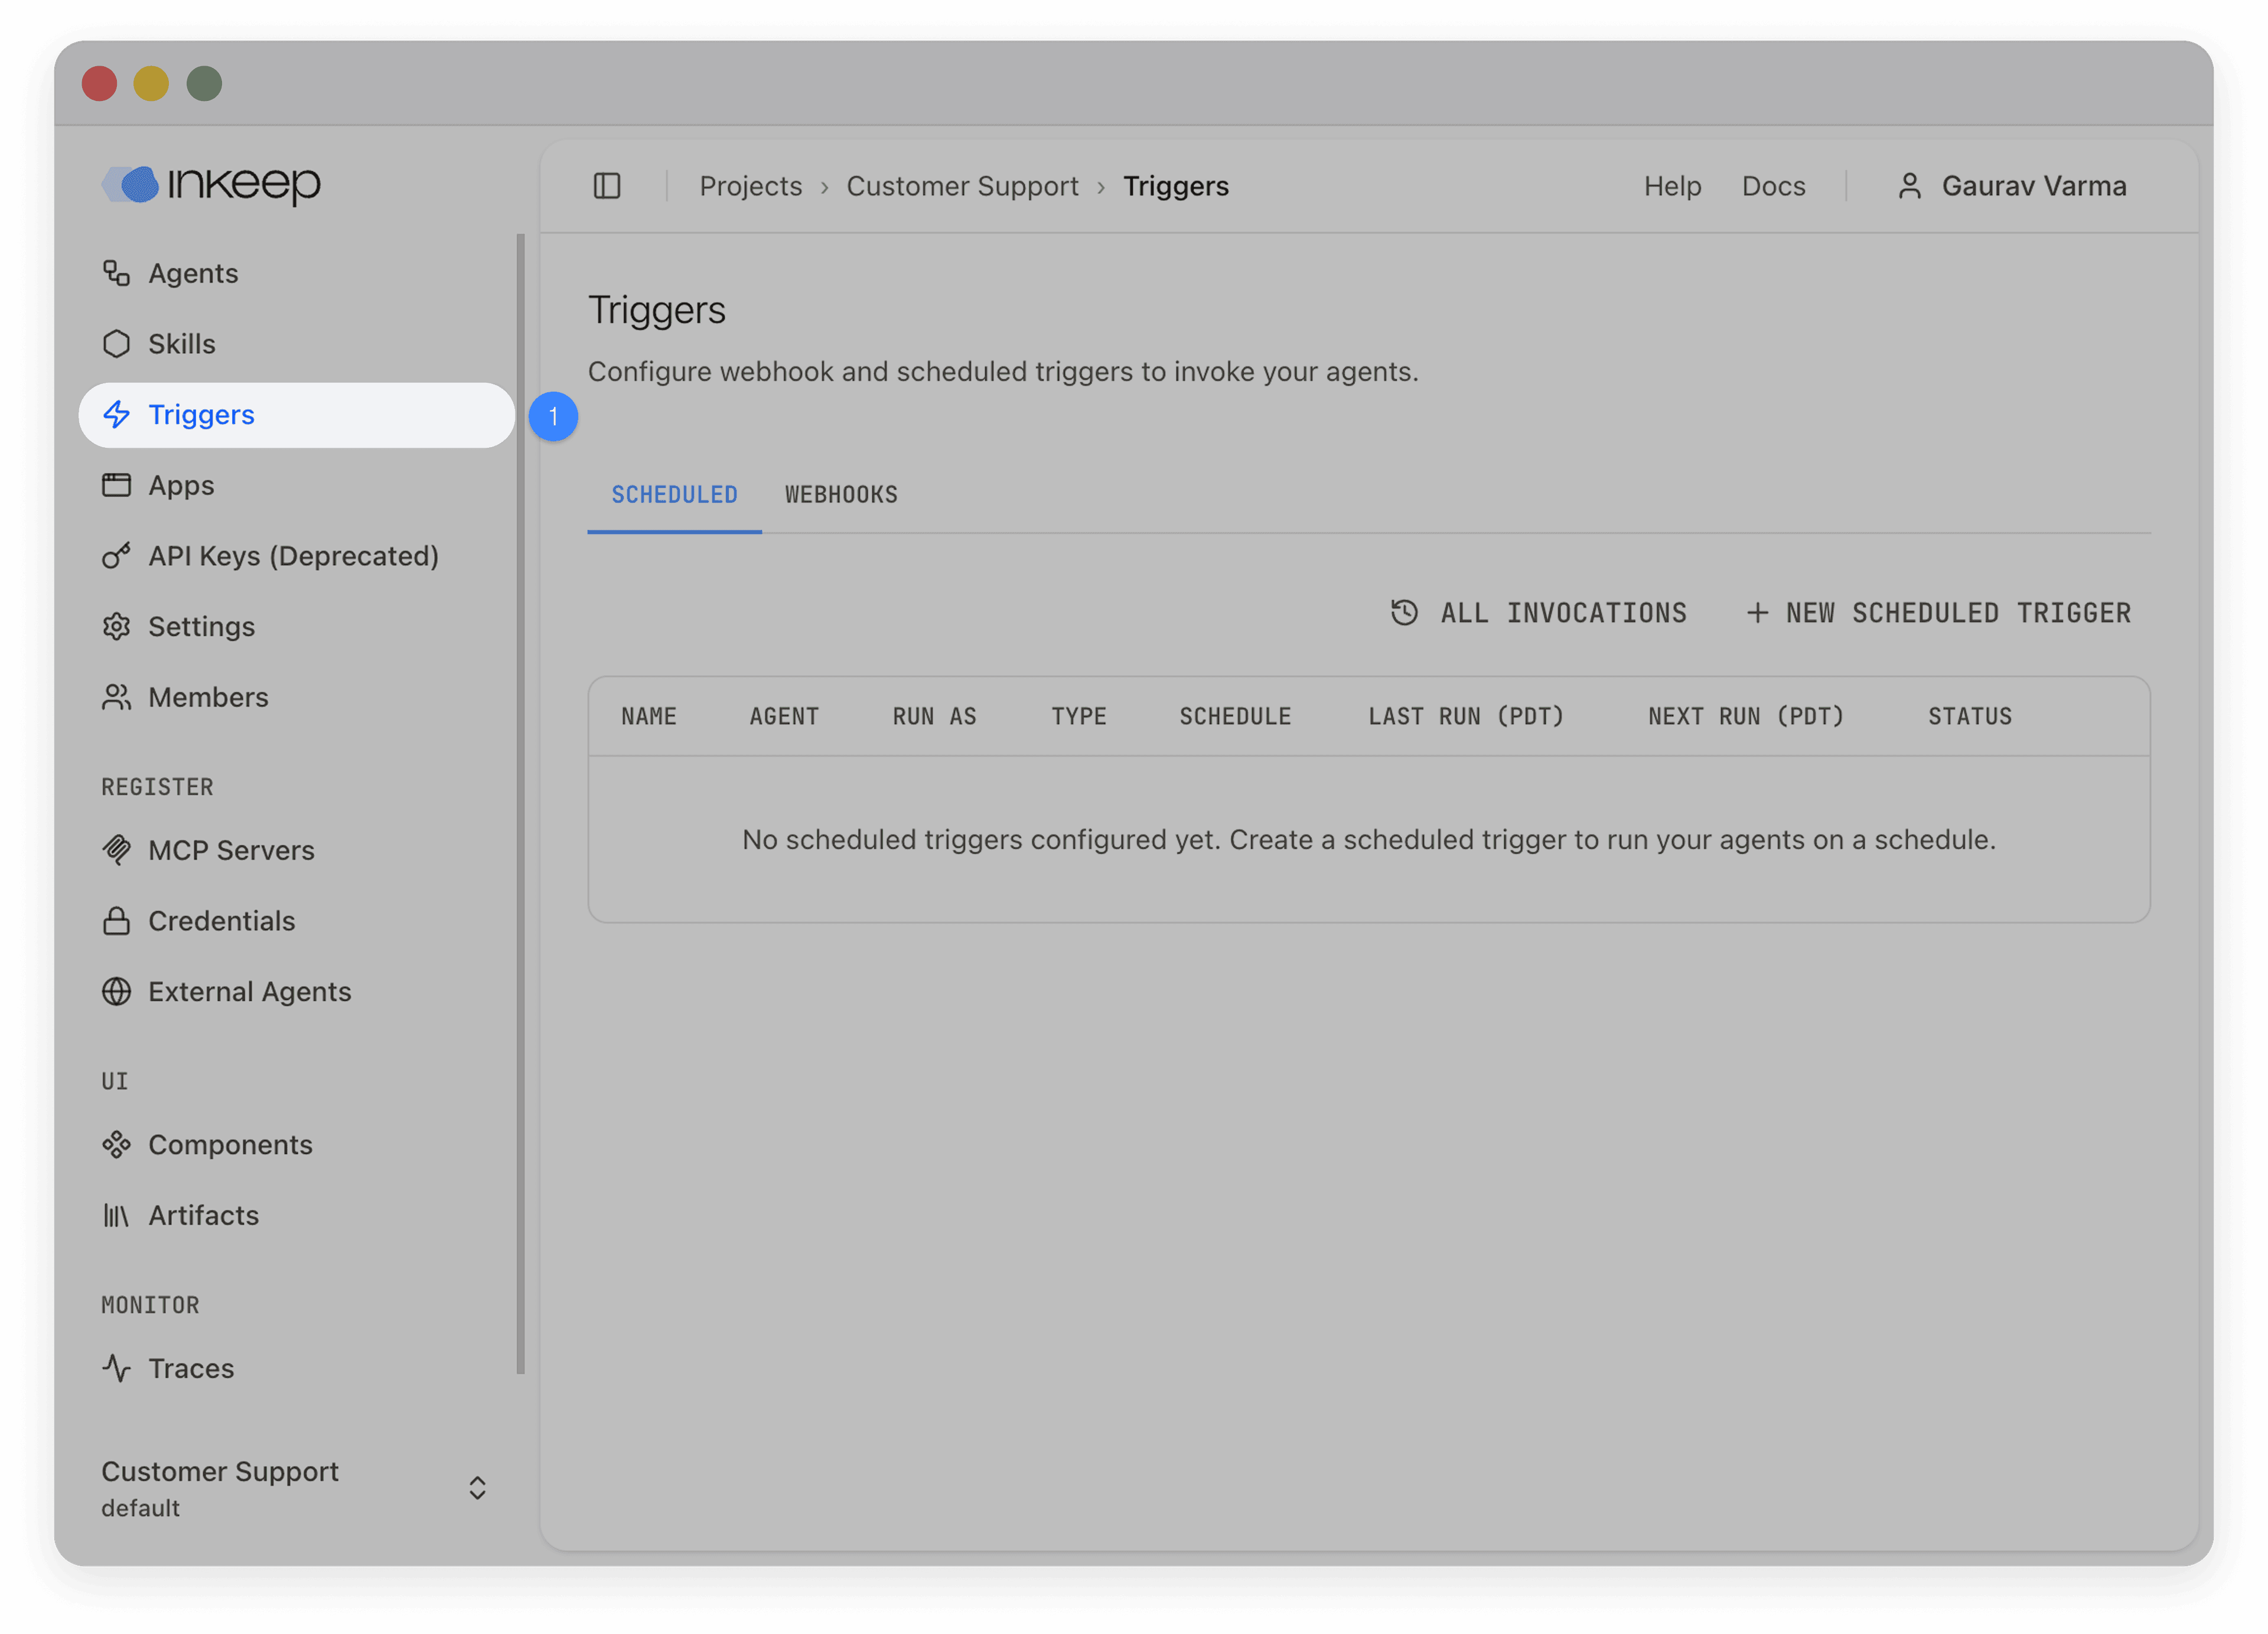
Open the triggers page
Navigate to your project and select Triggers in the left sidebar, then choose the Webhooks tab.
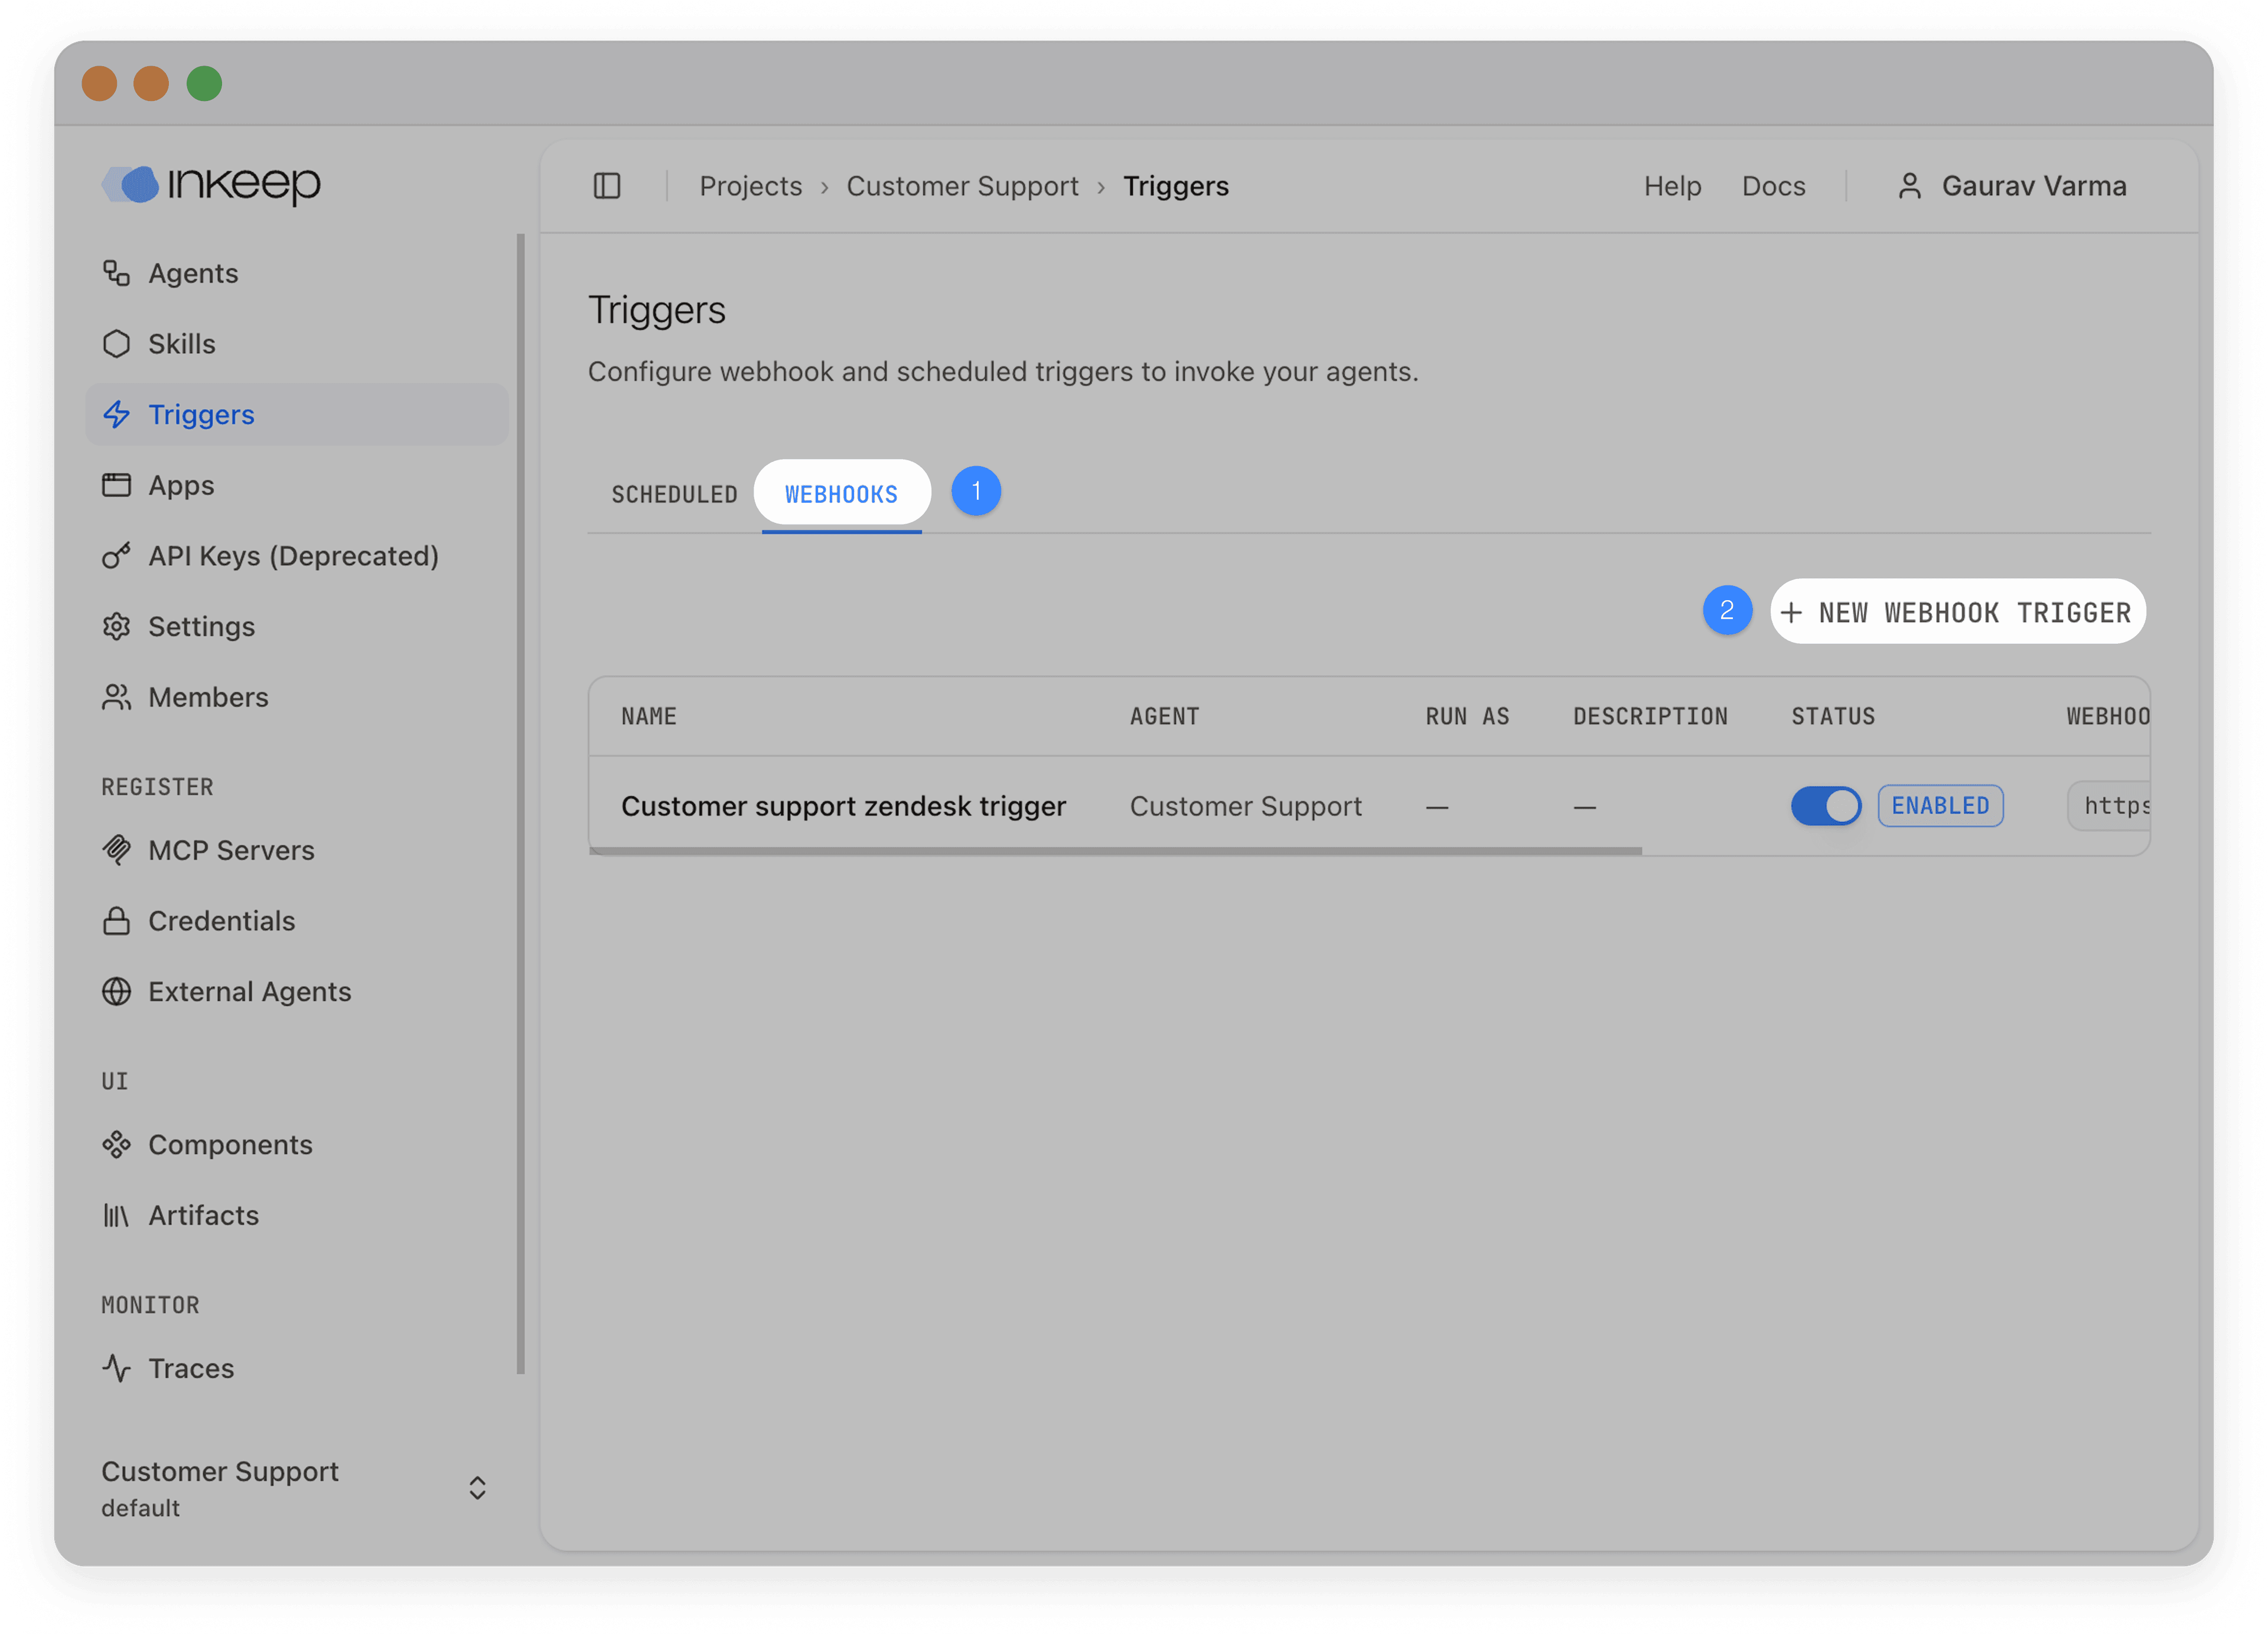
Start a new trigger
Click New Webhook Trigger. Select the agent you want the trigger to invoke, then click Continue.
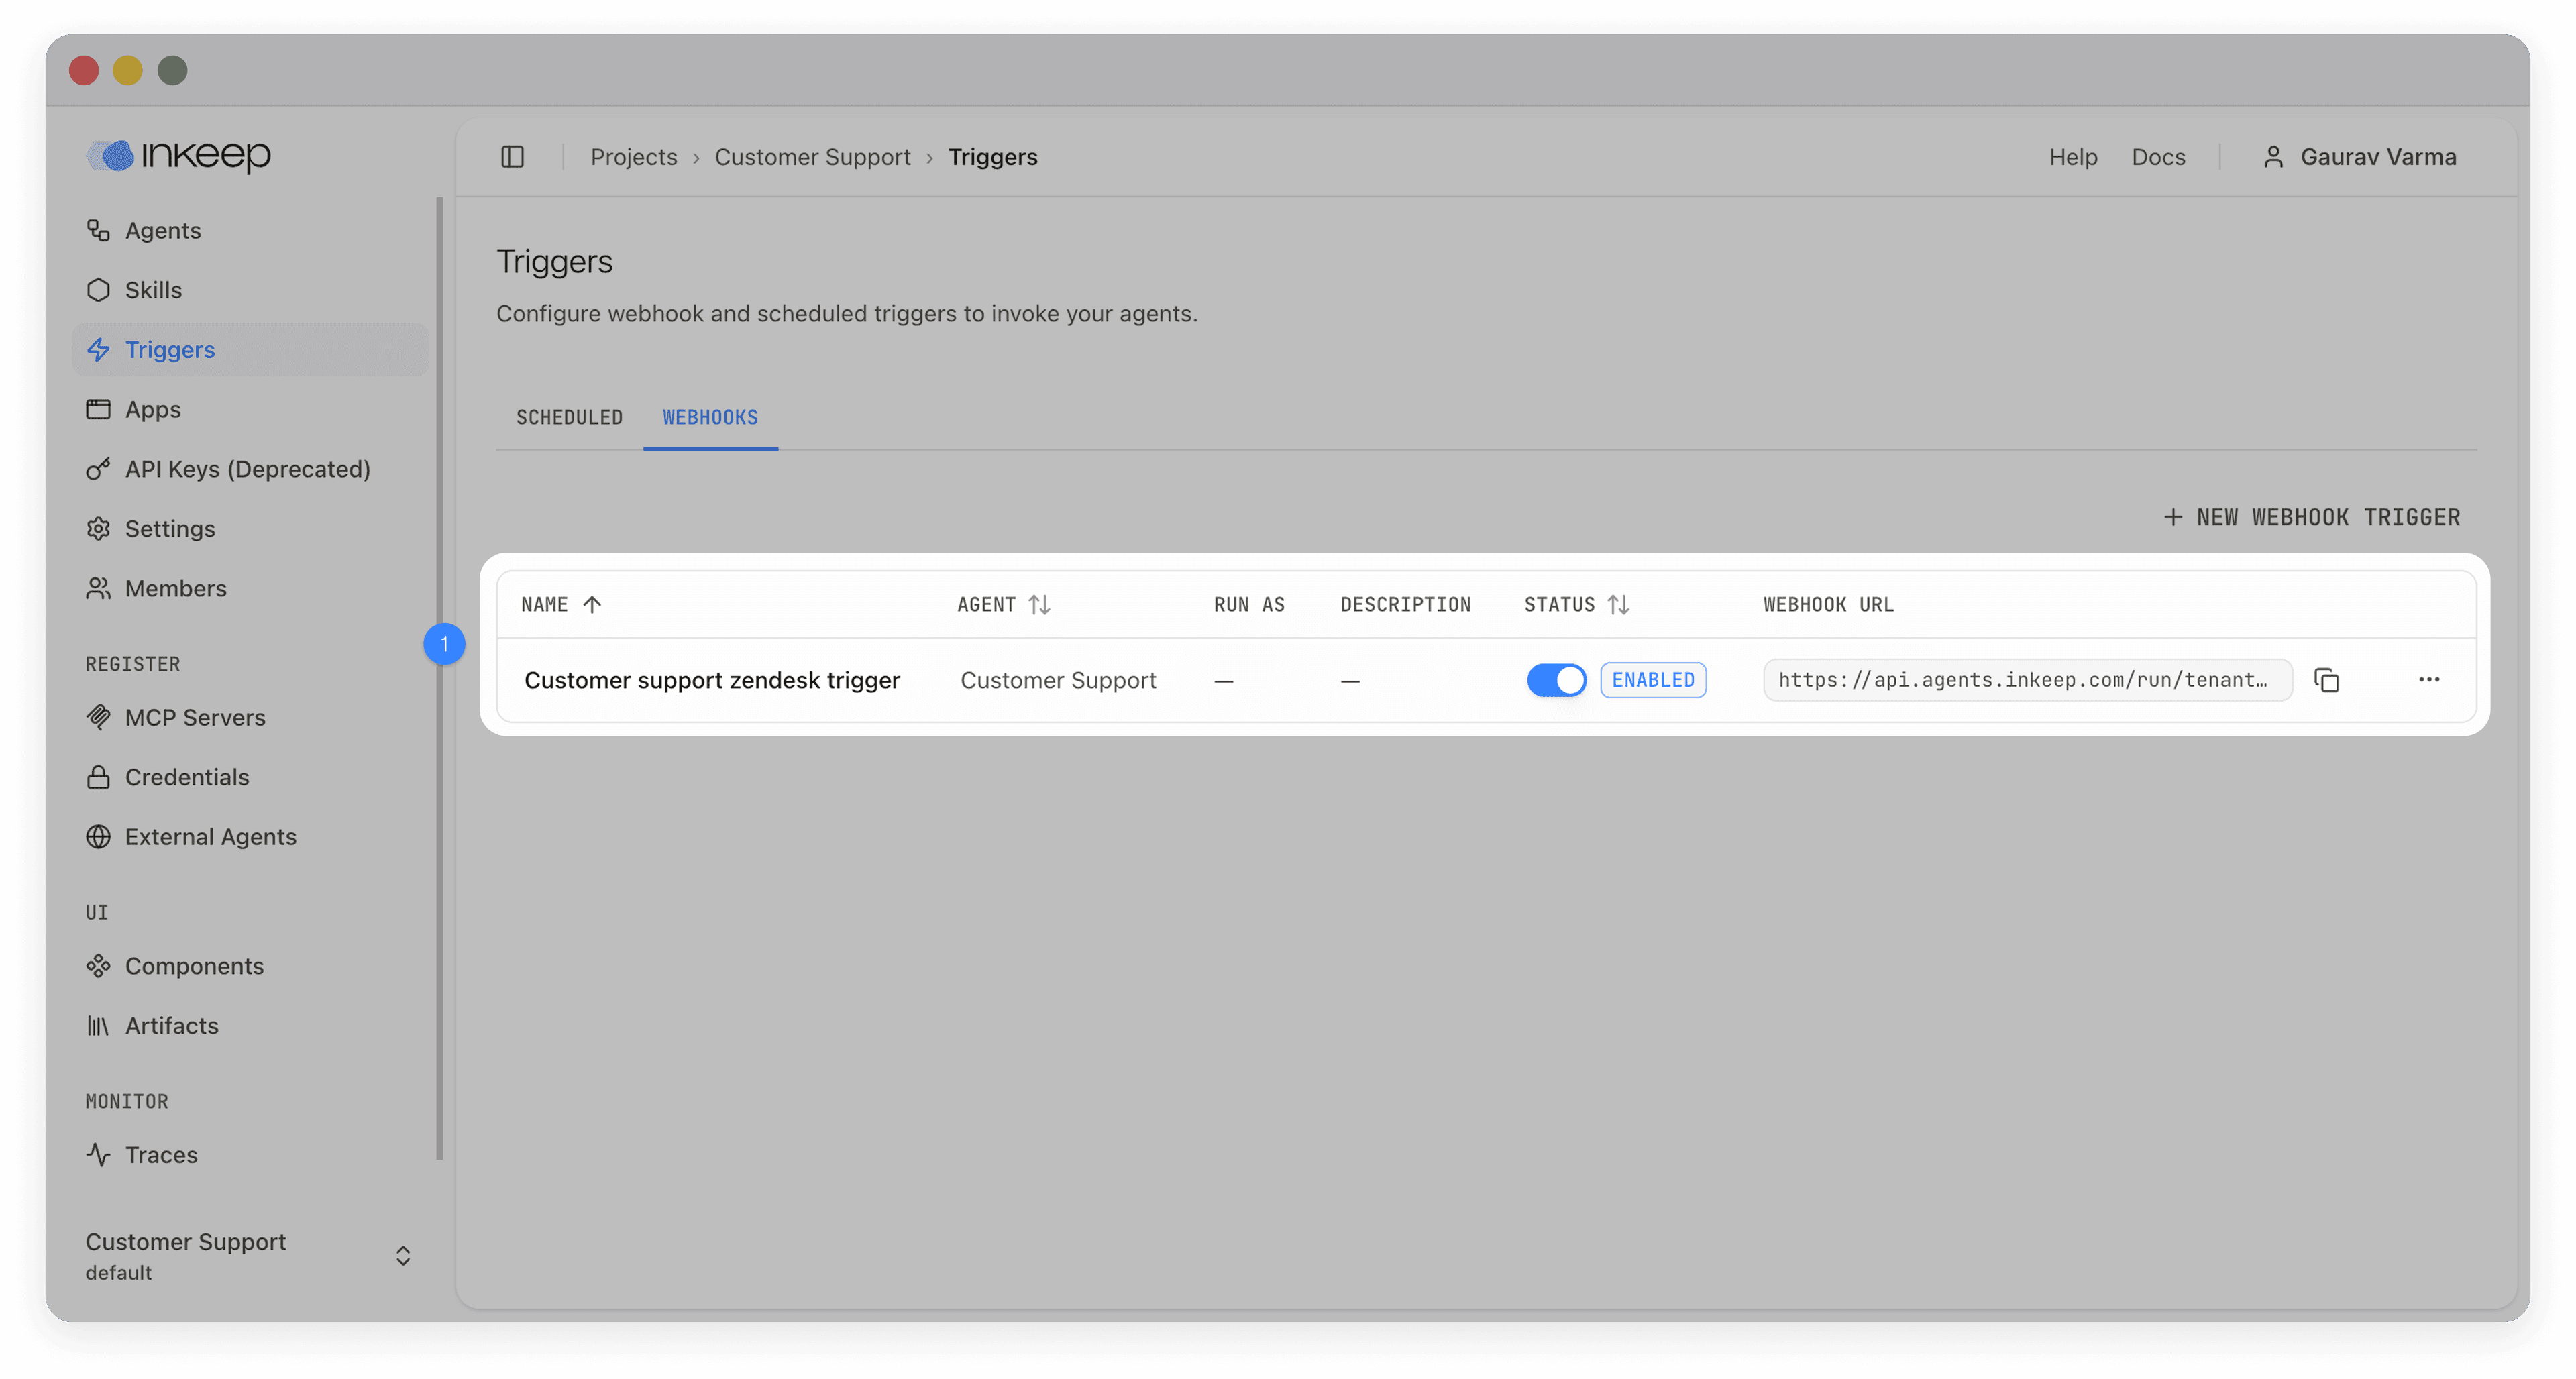
Verify the trigger
The new webhook URL appears in the webhooks tab — copy it into your external service's webhook configuration.
Configuration reference
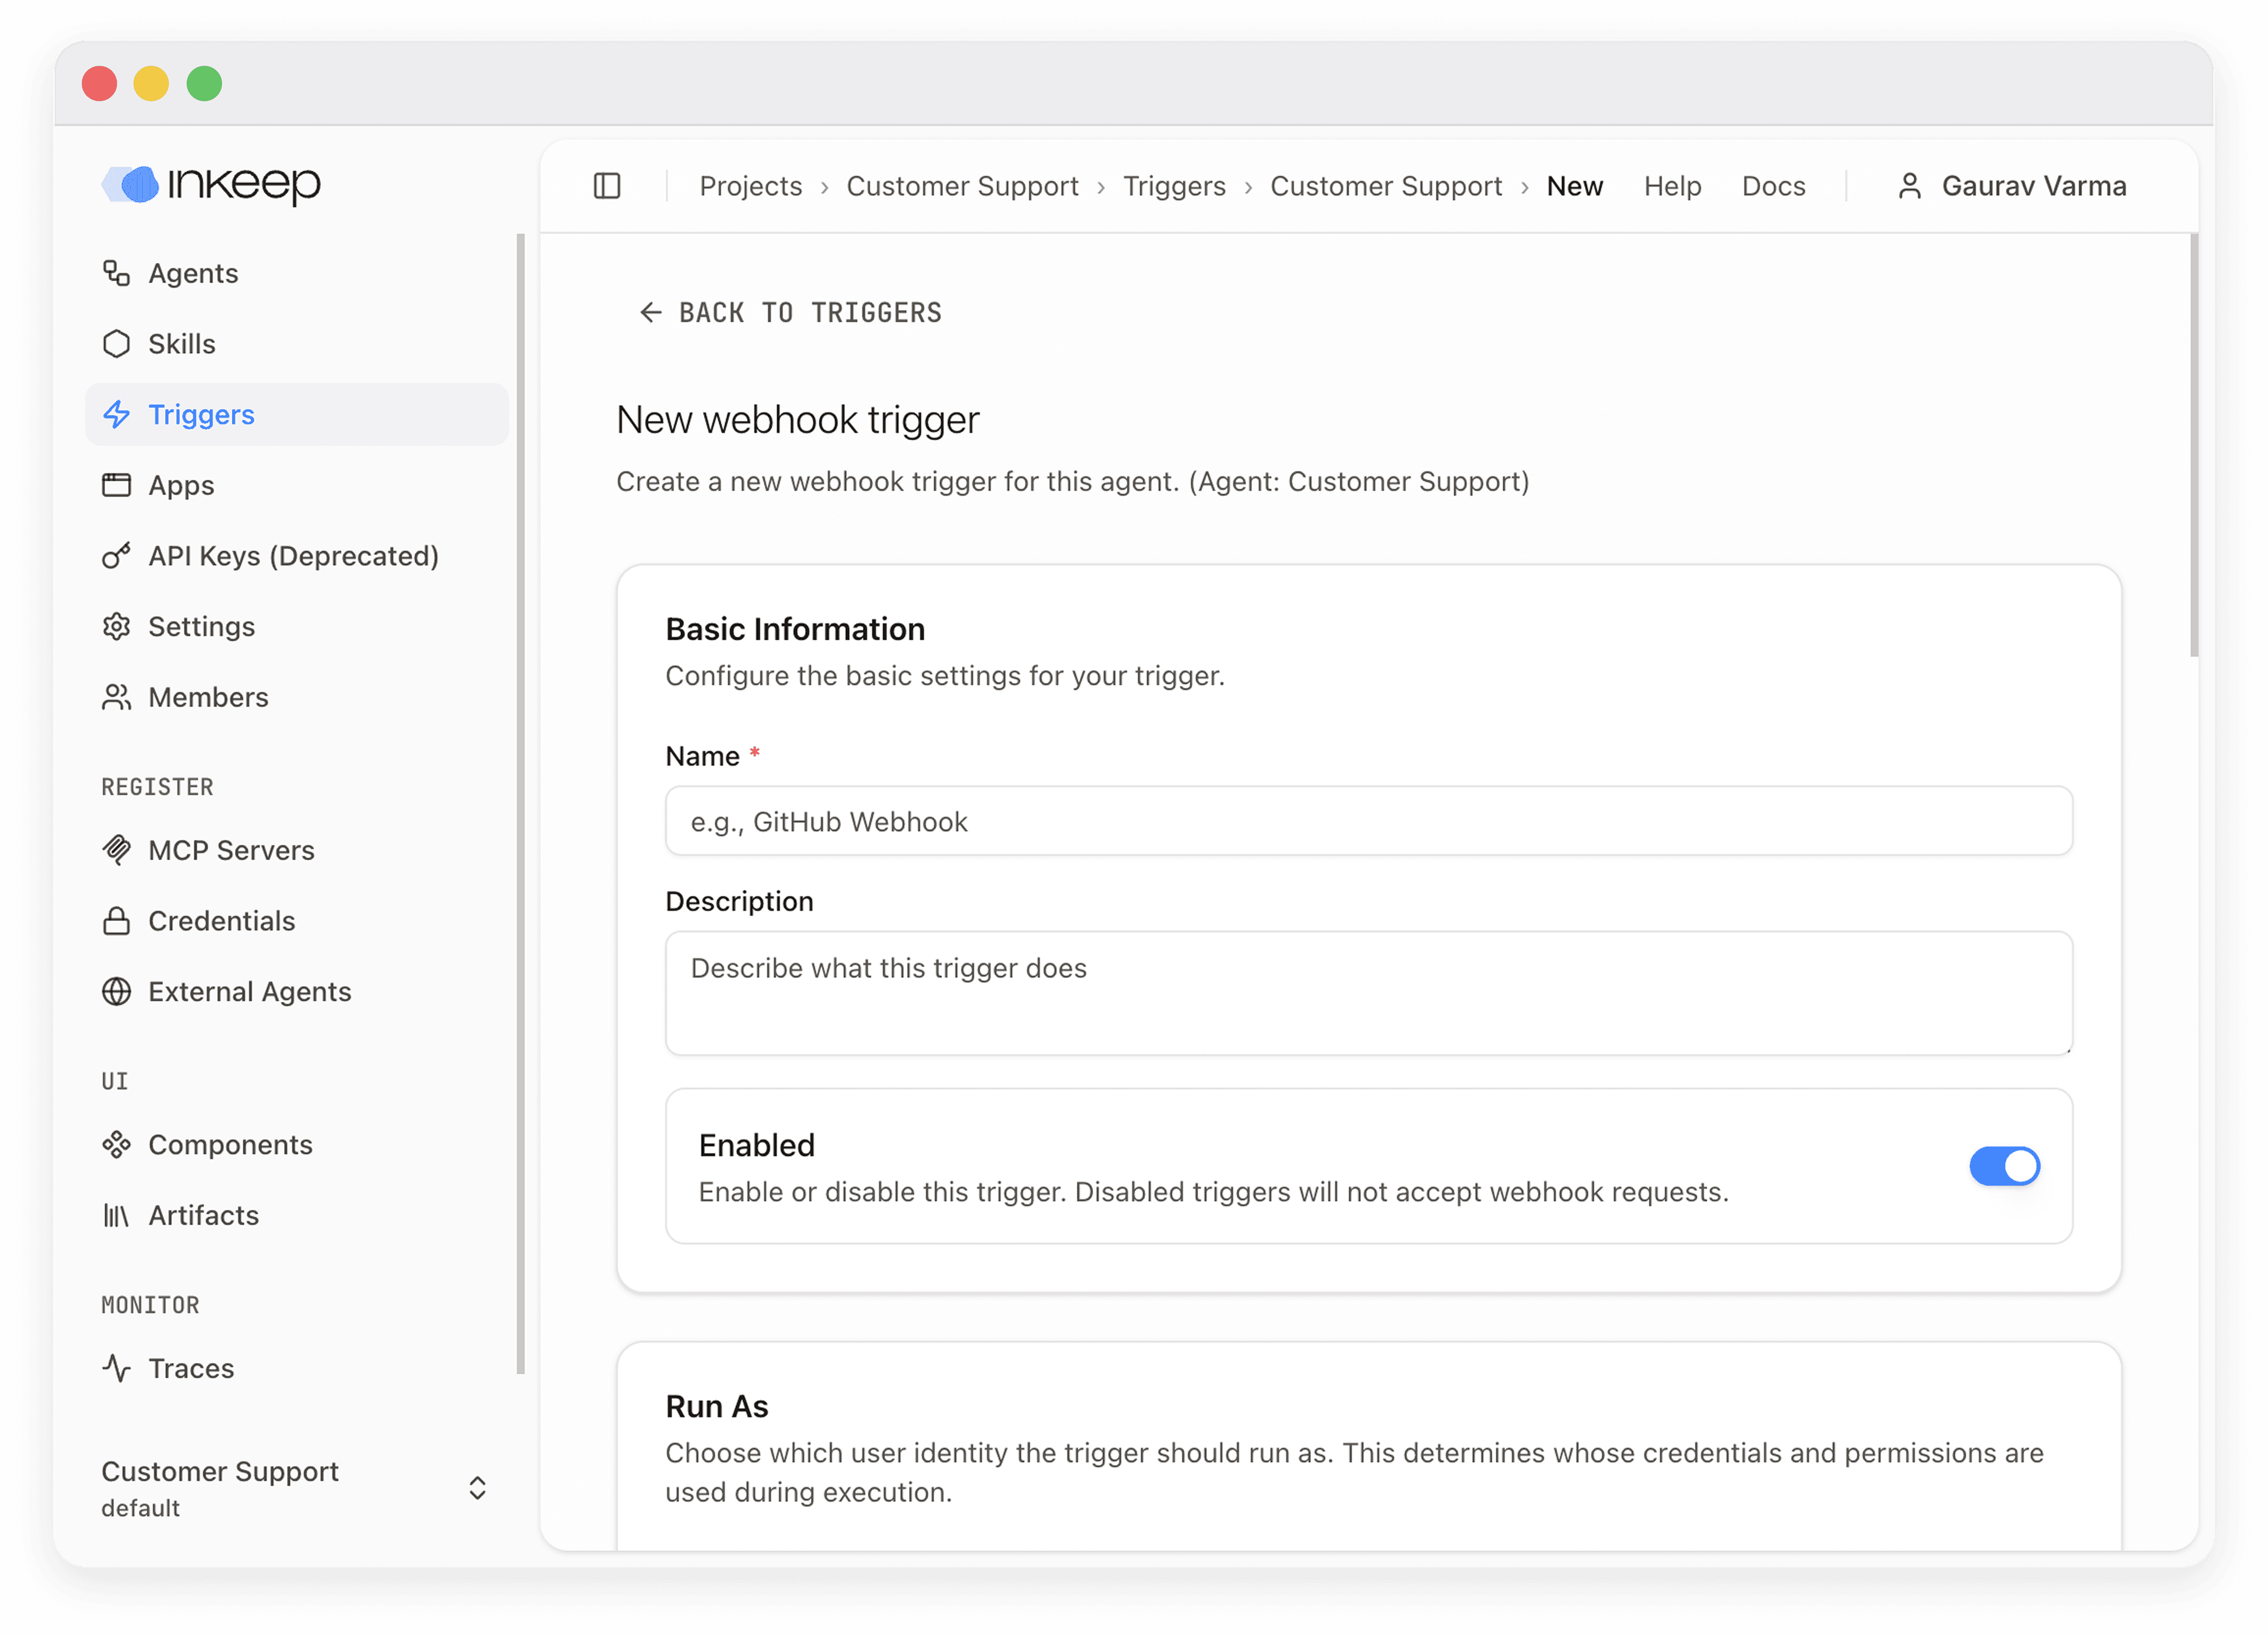
Required fields
| Field | Description |
|---|---|
| Name | Human-readable identifier (e.g., "GitHub Issues" or "Stripe Payments") |
| Message Template | Converts the webhook payload into a message for the agent. Uses {{placeholder}} syntax for interpolation (e.g., New issue: {{issue.title}} by {{issue.user.login}}) |
Optional fields
| Field | Description |
|---|---|
| Description | Explains what the trigger does |
| Enabled | Toggle on to activate immediately after creation |
| Input Schema | JSON Schema to validate incoming payloads — rejects requests that don't match |
| Authentication | One or more custom headers with expected values (see Authentication) |
| Signing Secret | HMAC-SHA256 secret for signature verification (GitHub, Stripe, Slack) |
| Output Transform | Reshape payloads before interpolating the message template (see Payload transformation) |
| Run As User | Execute the trigger as a specific user to access their connected credentials (see User-scoped execution) |
Message templates
Templates use {{placeholder}} syntax to pull values from the (optionally transformed) payload. Nested properties use dot notation:
When the trigger fires, the agent receives a multi-part message: a text part generated from the template and a data part containing the full structured payload.
Authentication
Triggers support flexible header-based authentication. Configure one or more headers that every incoming request must match:
| Approach | When to use |
|---|---|
Custom header (e.g., X-API-Key) | Simple API key verification |
Authorization: Bearer <token> | OAuth-style authentication |
| Multiple headers | Combined verification (e.g., API key + client ID) |
| Signing secret only | Services that sign requests (GitHub, Stripe, Slack) |
| No authentication | Public endpoints (use with caution) |
Header values are securely hashed before storage — original values are never persisted. For services that sign webhooks, you can rely on the signing secret alone for security.
Payload transformation
Transform incoming payloads before they reach the message template. Choose one approach:
| Approach | Best for | Complexity |
|---|---|---|
| Object Transformation | Simple field remapping | Low |
| JMESPath | Filtering arrays, conditional logic, complex restructuring | High |
Object Transformation maps input fields to output fields. For example, mapping payload.user.display_name → userName and payload.action.type → actionName.
JMESPath uses a full query language for advanced cases. For example, { activeUsers: join(', ', users[?active==true].name) } filters an array and joins the results. See jmespath.org for the full specification.
Object Transformation is converted to JMESPath under the hood. Start with object transformation and switch to JMESPath only when you need filtering, conditionals, or array operations.
User-scoped execution
By default, webhook triggers run without a user identity — tools requiring user-scoped credentials are skipped. Setting Run As User makes the trigger execute as a specific user, enabling access to their connected credentials (e.g., per-user OAuth tokens for GitHub, Slack, or Jira).
When a run-as user is set, agents automatically use that user's profile timezone for time-aware responses.
How webhooks are processed
- An external service sends an HTTP POST to the trigger's webhook URL
- Authentication headers or signing secret are verified
- The payload is validated against the input schema (if configured)
- The payload is transformed using the output transform (if configured)
- The message template is interpolated with the (transformed) payload
- The webhook returns
202 Acceptedimmediately - The agent processes the message asynchronously in a new conversation
Monitor invocations
View invocations from the trigger's dropdown menu to monitor activity, debug failures, and audit usage.

Every webhook invocation is tracked with:
| Field | Description |
|---|---|
| Status | pending → success or failed |
| Request Payload | The original webhook body |
| Transformed Payload | The payload after output transformation |
| Conversation ID | Links to the conversation the invocation created |
| Error Message | Details if the invocation failed |